

Ferrari 360 Cup Holder V2
Step 1

Remove the ash tray compartment. Slide up to remove.
Step 2

Remove the Philips head screw at the bottom. Store safely as it will be reused.
Step 3

Pull the ash tray up and unplug the cigarette lighter connector. Tuck the wires under the centre console out of the way.
Step 4
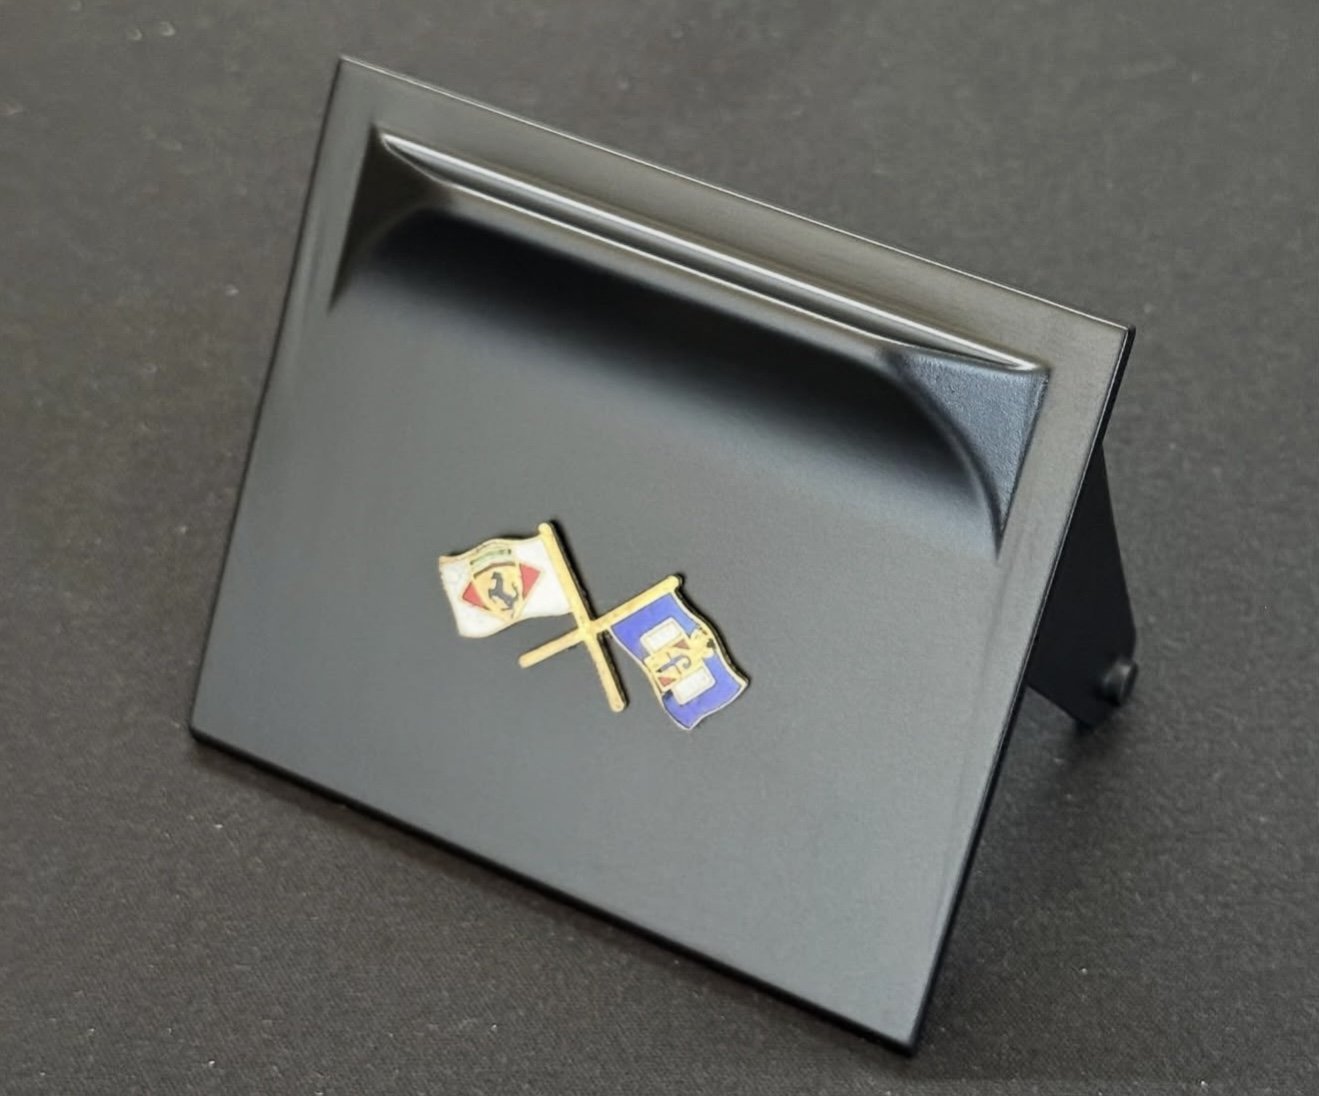
Remove the flag emblem off the original lid and attach it to the new lid.
Step 5
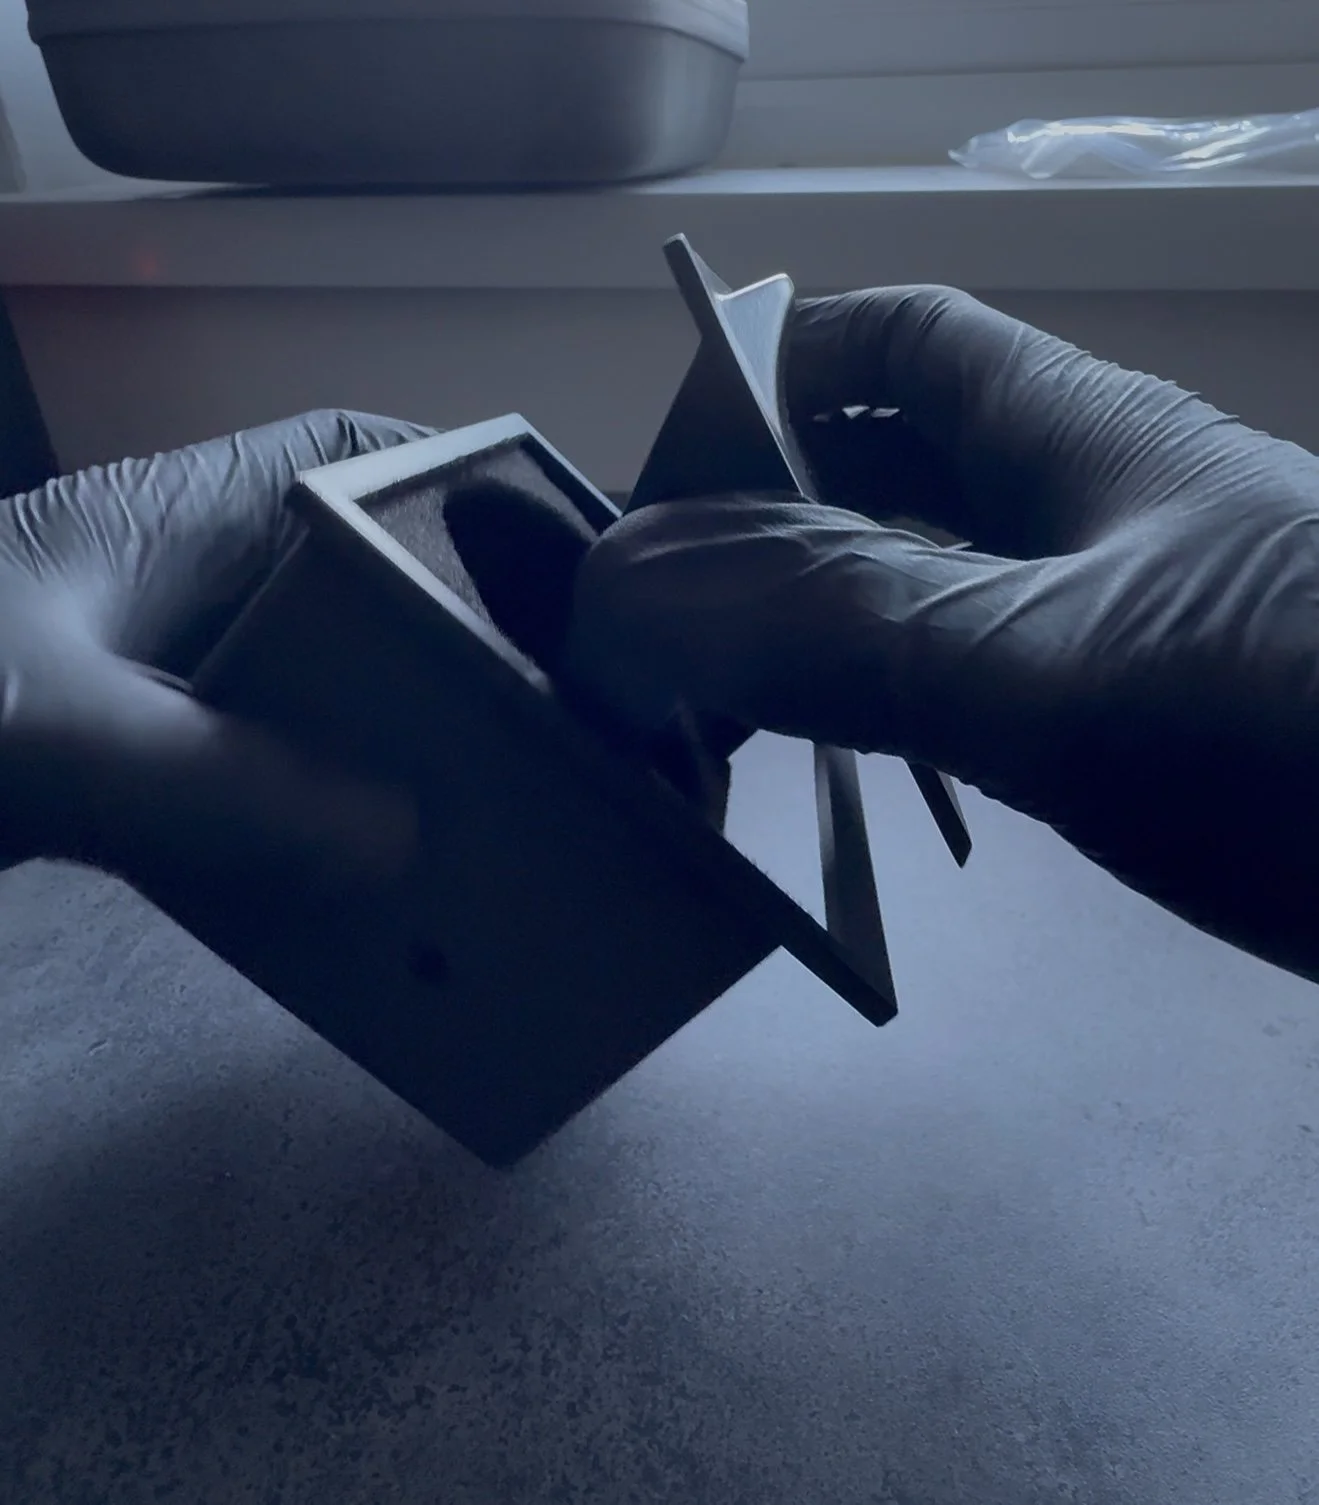
Attach the new lid and base together.
See video at the bottom of this page.
Step 6

Once the lid is in place and is correctly seated, re install in your car with the original screw. Be very careful not to overtighten the screw as it may damage the item.
Lastly install the drip tray slotting it into the base of the cup holder.
Note: The lid may feel slightly stiff at first. Opening and closing it 10–20 times allows the hinge to bed in and gives a smooth action.
Lid Install

A 3D-printed cup holder that replaces the ash tray in the Ferrari 360 centre console. It fits the factory location using the original fixing screw and comes with a new hinged lid styled on the original, so the console keeps its factory look.
Key details
Replaces: Ferrari ash tray, part no. 67505800 (earlier 64735500)
Fits: Ferrari 360 Modena and 360 Spider
Holds: cups and bottles up to 67 mm (2.6 in) diameter, including a standard 500 ml bottle
Lining: black flocking throughout the cup well
Lid: new hinged lid; your Ferrari flag badge transfers across from the old lid
Finishes
Matte Black: a smooth matte black finish to match the surrounding console trim.
Soft-Touch: a rubberised soft-touch coating, similar to the car's interior trim, for a softer feel and lower sheen.
In the box
Cup holder base
Hinged lid
Removable drip tray
Fitting
Fits in place of the ash tray using the factory screw.
Step-by-step guide: Cup Holder V2 fitting instructions
The lid may feel slightly stiff at first. Opening and closing it 10–20 times lets the hinge bed in for a smooth action.
Good to know
Made to order. Please allow up to 48 hours before dispatch.
Each part is hand finished. Small variations in surface texture are a normal part of 3D printing and don't affect fit or function.
Disclaimer:
The installation instructions provided are intended as a general guide only. Performance Car Prints is not responsible for any damage or injury caused to you, your vehicle, or any property during installation or use of our products. Proceed at your own discretion and ensure all modifications comply with local laws and safety standards. If in doubt, seek professional assistance. Use of this guide is entirely at your own risk.